Tortoiseshell nails remained at the top during the colder months, which is well justified given the muted warm colours of design. However, even during the warmer seasons the Tortoiseshell manicure remains as relevant as ever. Sure, transitioning into a new season demands a new colour palette (especially, if spring has arrived in your town) but the fun textured pattern and seemingly easy nail art technique are what make this manicure so attractive and keep the trend going all year round.
Naturally, I had to try it! Was it easy? Not quite!
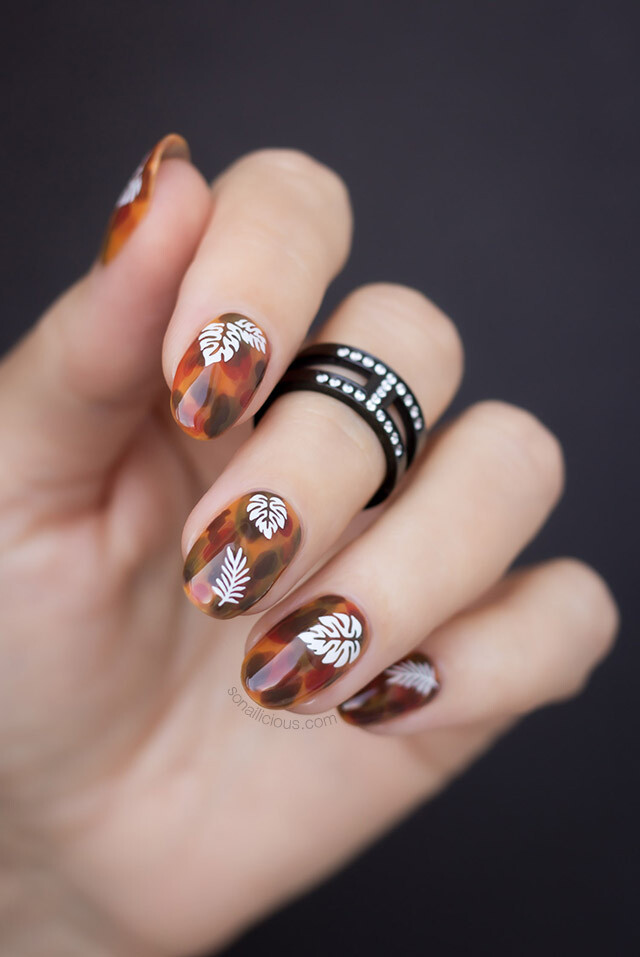
Watching Instagram tutorials makes it look so easy and quick. In reality, however, Tortoiseshell nails require certain skill and technique to get that cool glassy Tortoiseshell effect (and not just a brown blur) on your nails. To understand how it works, I’ve practiced the technique on nail tips until I got it right. Surely it took some time, but the result (the beautiful glossy Tortoiseshell nails you’re seeing here today) is worth it!
So here are my best tips for the perfect Tortoiseshell nails:
- Keep the palette neutral and resembling natural tortoise shell colours. Google a photo of tortoise shell to see how it really looks like rather trying to recreate a manicure you’ve found on Instagram;
- Use sheer or jelly polishes or gels to get a more realistic texture. You can even try and add a layer of top coat between the spotty layers to get that cool transparent look.
- The beauty in imperfection. What’s great about this nail design is that there is room for error and even imperfect, it will still look good. Tortoiseshell manicure is inspired by a natural pattern, and nature isn’t perfect—it’s simply beautiful as it is! So don’t stress out about precision.
- Less is more. Less spots (the dark Tortoiseshell dots) on the nail surface actually look better than too many. Too many can look crowded and messy. So try to keep it to 4 – 6 spots per nail.
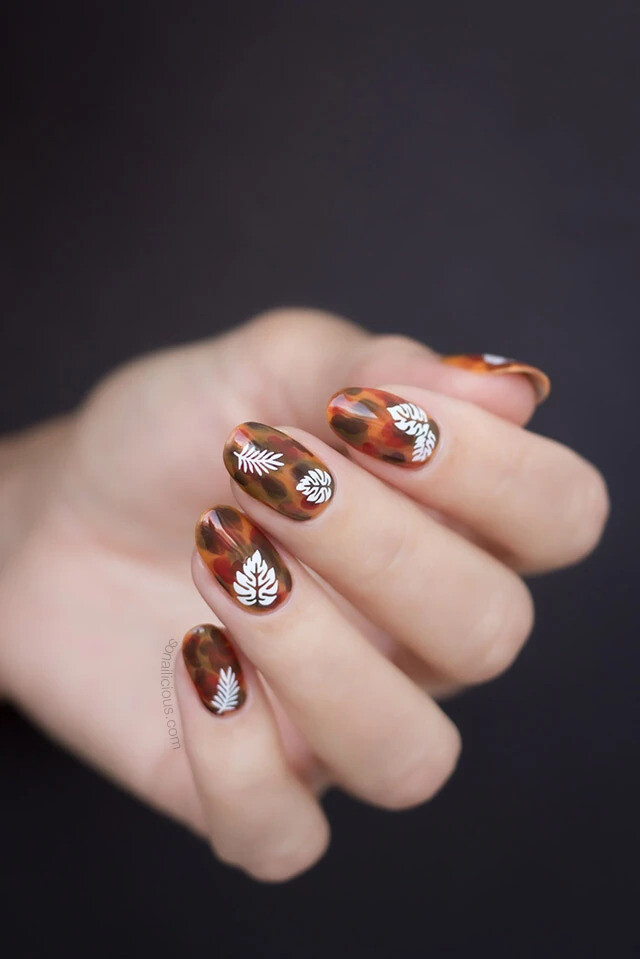
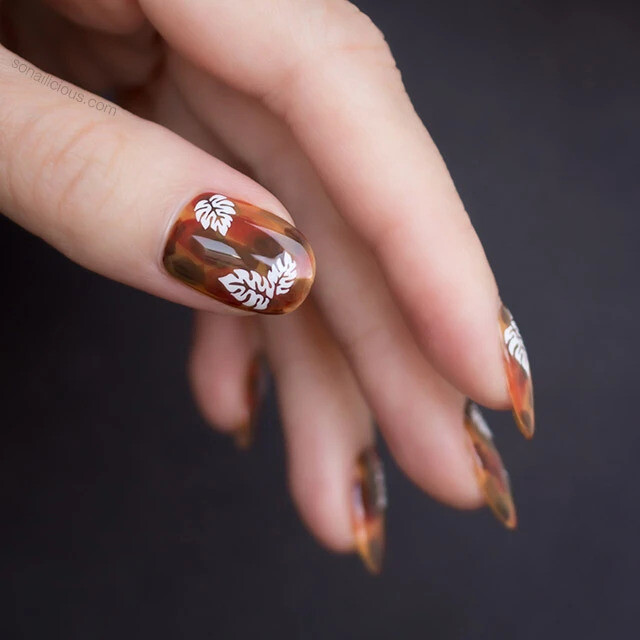
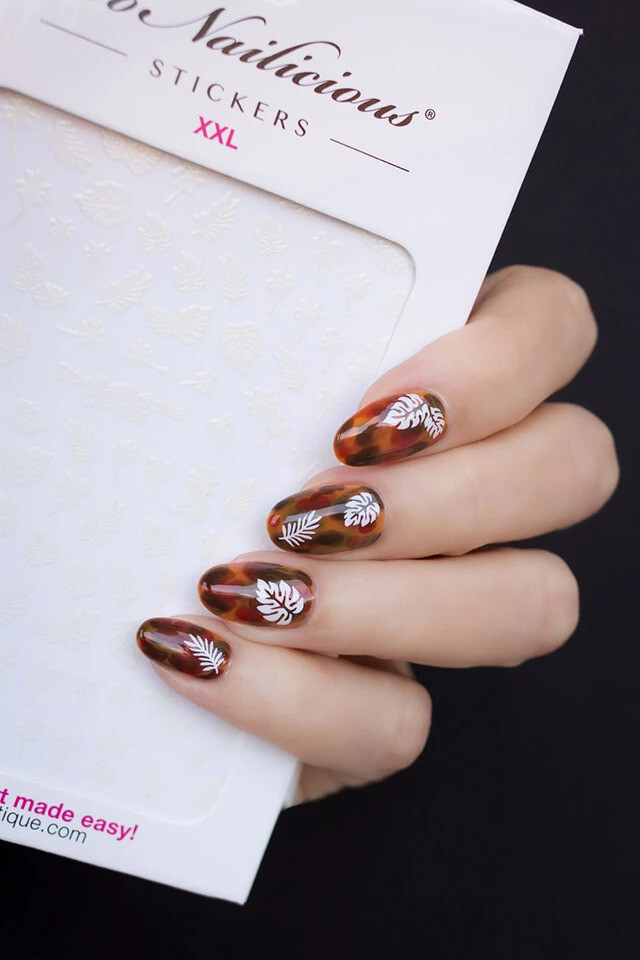
- Excellent nail art base. While the pattern itself is cute enough on its own, it also provides a great base for more elaborate nail art. Simply add a few white Palm leaves, Stripes or Aztec stickers on top of your tortoise shell for an instant upgrade.
There you have it, my best tips for the beautiful Tortoiseshell nails! If you’re familiar with the technique but still not quite getting it right, follow these tips next time you’re attempting the cheeky Tortoiseshell and see how you go. If you have not tried this manicure before, then I strongly suggest first practice creating the pattern in your Little Book of Nail Art or on nail tips to see how it works.
I added a few white palm tree leaves here and there to add vacation vibe to my Tortoiseshell nails. The look is inspired by Eva’s @coewlesspolish nail design, for which she used the same stickers. I loved Eva’s manicure so much that I simply had to give it a go!
Used:
- Mavala Mava-Strong base coat
- CirqueColors Tortoise Shell nail art set
- SoNailicious Edgy Tropics stickers – white leaves
- SN 01 Warrior nail art brush – to paint dark sport close to cuticles
- SN 04 Slayer nail art brush – to clean up around cuticles
- Essie Good to Go top coat
Special mention: if you want to become a qualified nail technician, check out Demi International’s Certificate 3 in Nail Technology.