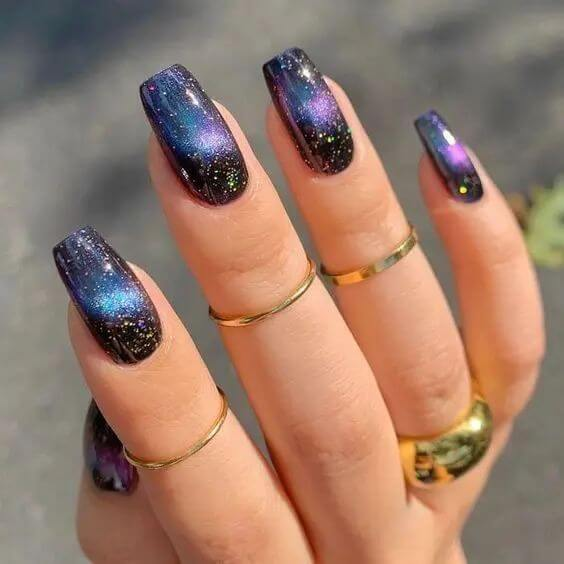
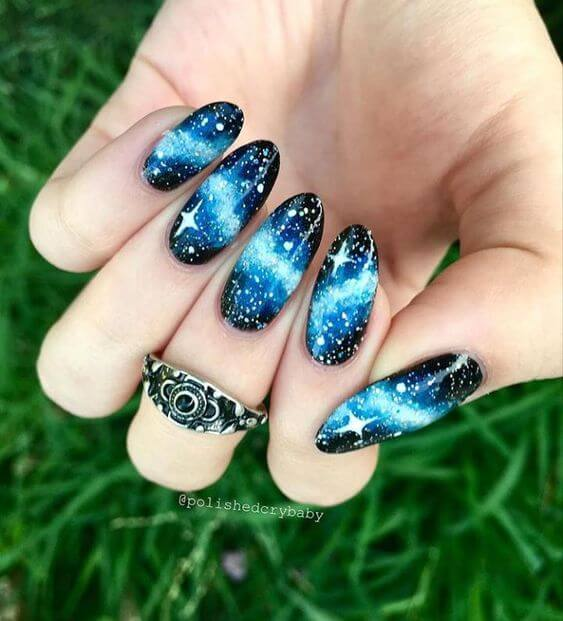
Even after over ten years, galaxies are still strikingly beautiful and enigmatic. Milky way-inspired galaxy nail art inspired by the galaxy’s abundance is taking Instagram by celestial storm. And right now, this fashion is unquestionably back!
Galaxy hologram nails imply the creation of the galaxy effect against a shimmering sky, which is a fantastic choice for self-confident ladies. Many people still think that this manicure only uses black and blue hues, but we’re here to reassure you that you may use any gel paint and still look fantastic. Take a look at some brilliant ideas below.
How To Do Galaxy Nails At Home
Are galaxy nails something you’d like to try but are hesitant to DIY? There’s no need to stress, we found this amazing nail art guide. It’s simple to follow and is essentially a fail-proof way to achieve flawless galaxy nails. The techniques used are simple enough for beginners to follow, but you will need several different nail polish colors. You will be astounded by how cool this one appears with its stars and wonderful outer space aspect. Check out the detailed instructions for painting galaxy-themed nails below.
Step 1: You will need to apply two to three coats of black nail polish to your nails and let them dry completely.
Step 2: Pour a tiny amount of each color onto a plate. Start by taking the white makeup sponge and lightly sponge on a bit of white. Next, incorporate a tiny touch of royal blue and purple. Adjust the sponging as you wish until you like the look. You can also use slightly different colors based on the type of design you’re doing.
Adding just a tiny bit of white to your sponge will add more dimension. Leave some of the black polish on your nails to create depth, that’s the “space” aspect. Add a little silver sparkle last to finish. In fact, the less, the better, because you’ll wind up with galaxy nails as opposed to glitter nails.
Step 3: To represent stars, use a toothpick to add little dots to your nails. You can also make slightly larger stars by drawing a tiny cross or star shape with the toothpick.
Step 4: Once the artwork has dried, apply a top coat to complete your galaxy. You can choose a matte or shiny topcoat depending on the desired effect; nevertheless, both can be incredibly gorgeous.
Keep in mind that you may use conventional, gel, dip, or acrylic nail paint by simply following these instructions. Your galaxy-themed nails will be designed in the same way!
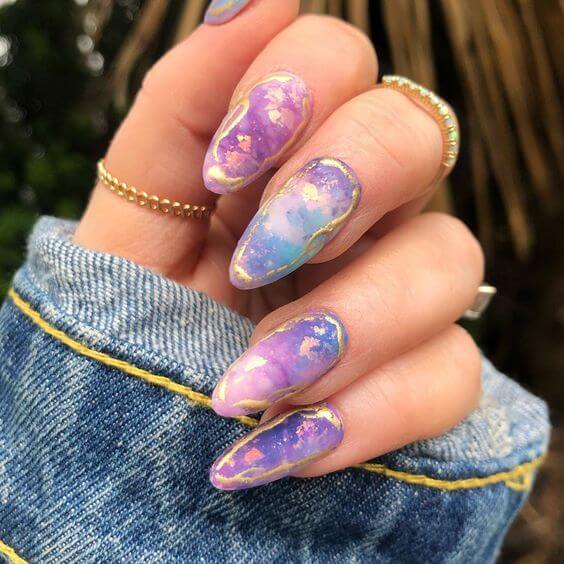
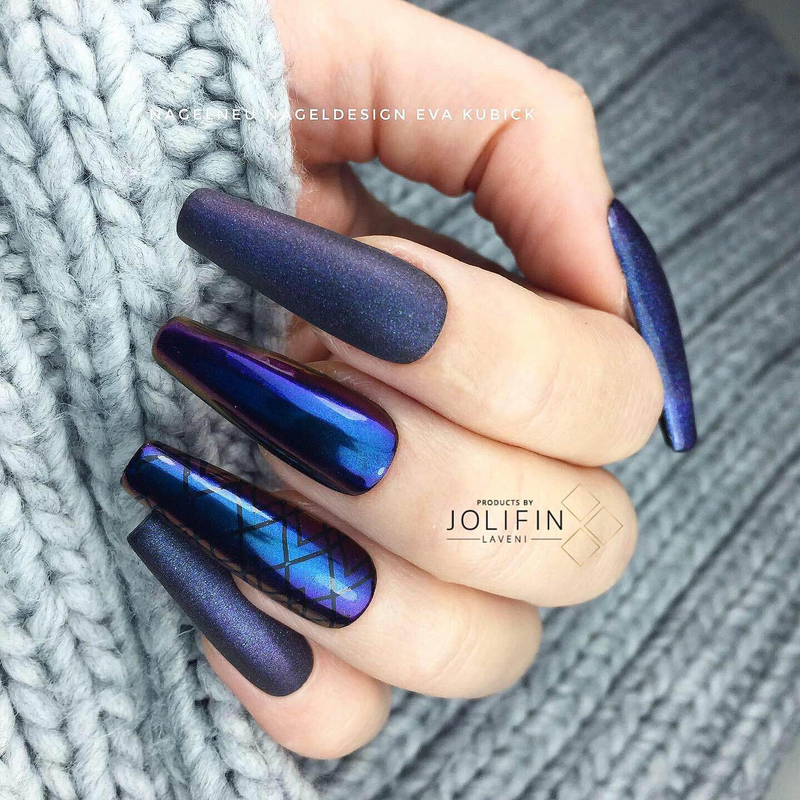
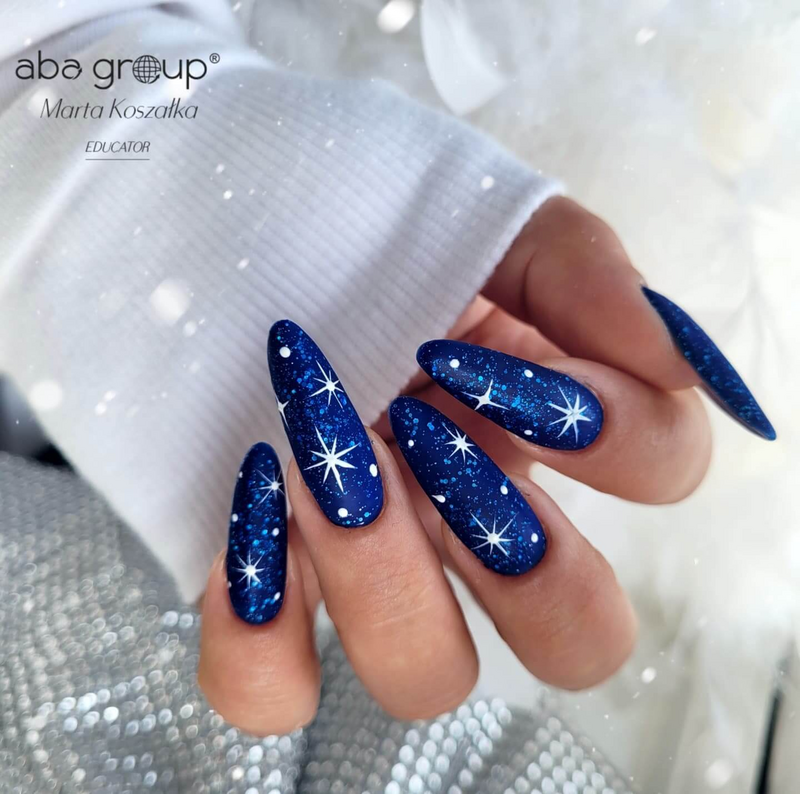
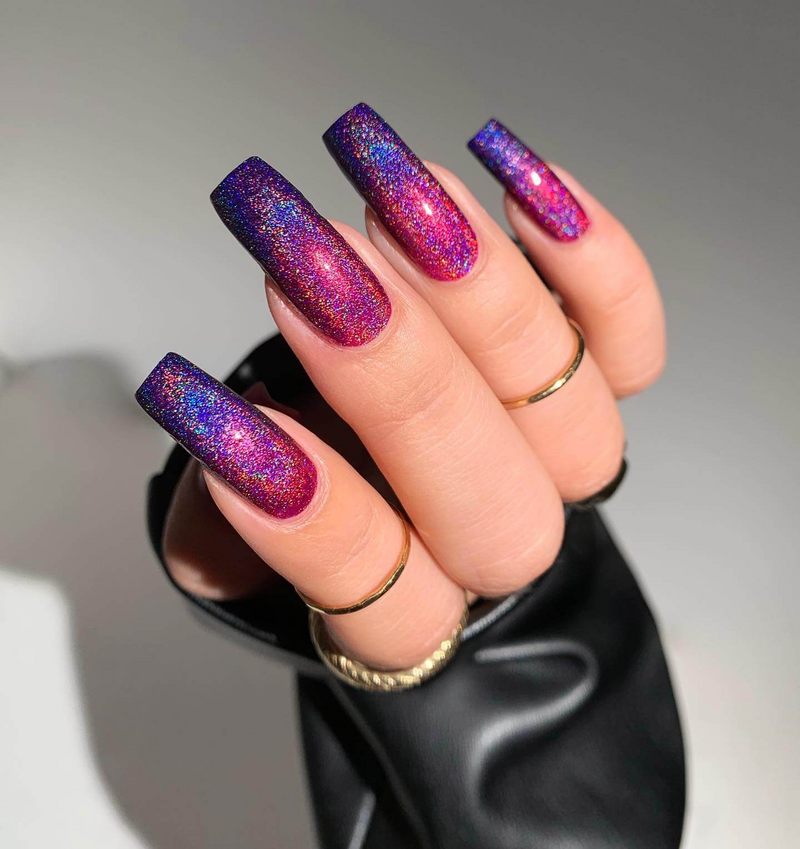
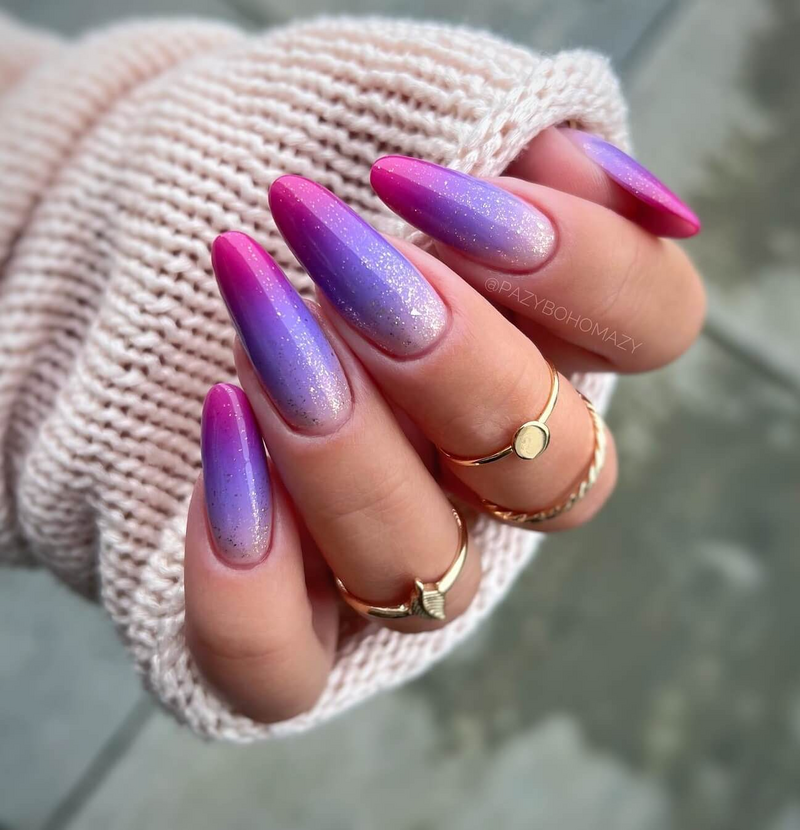
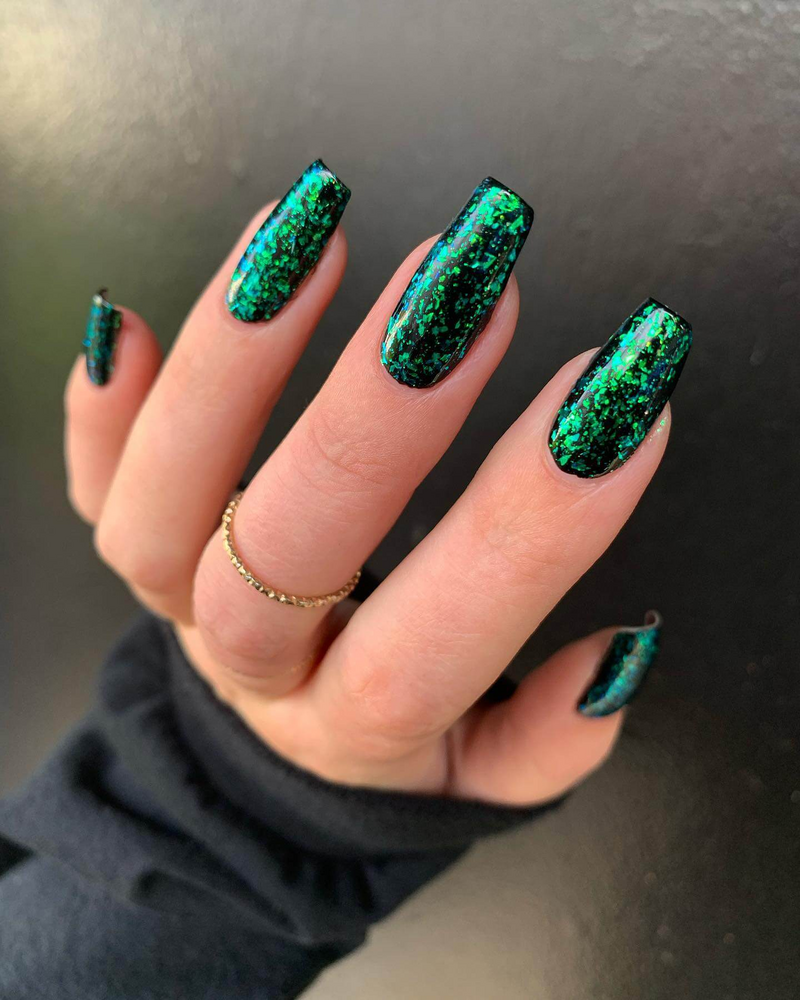
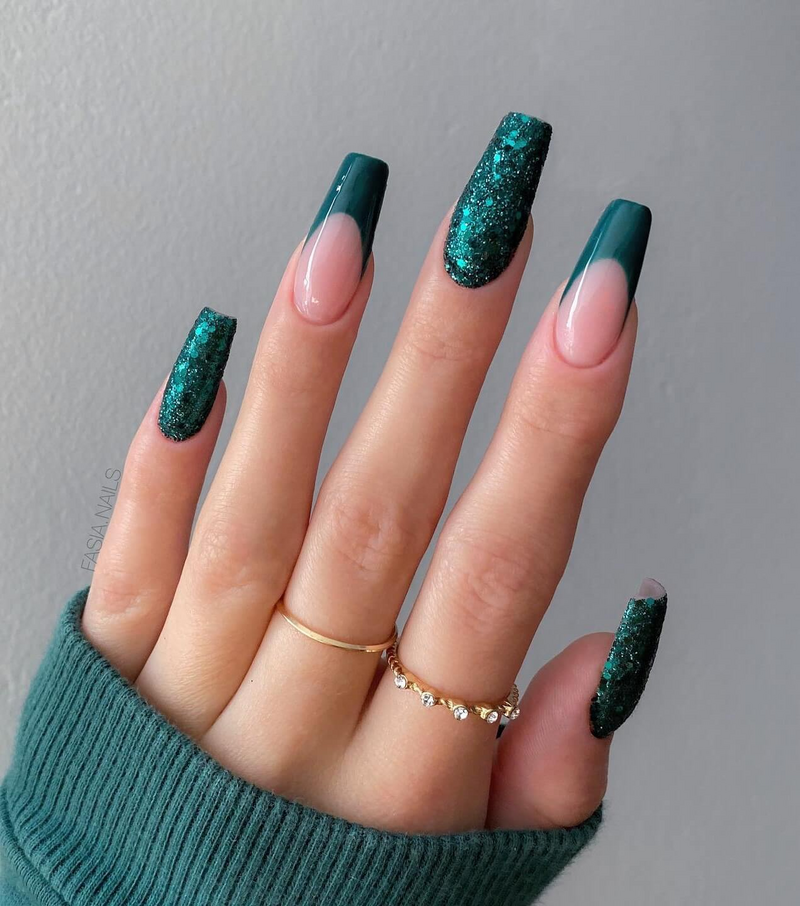
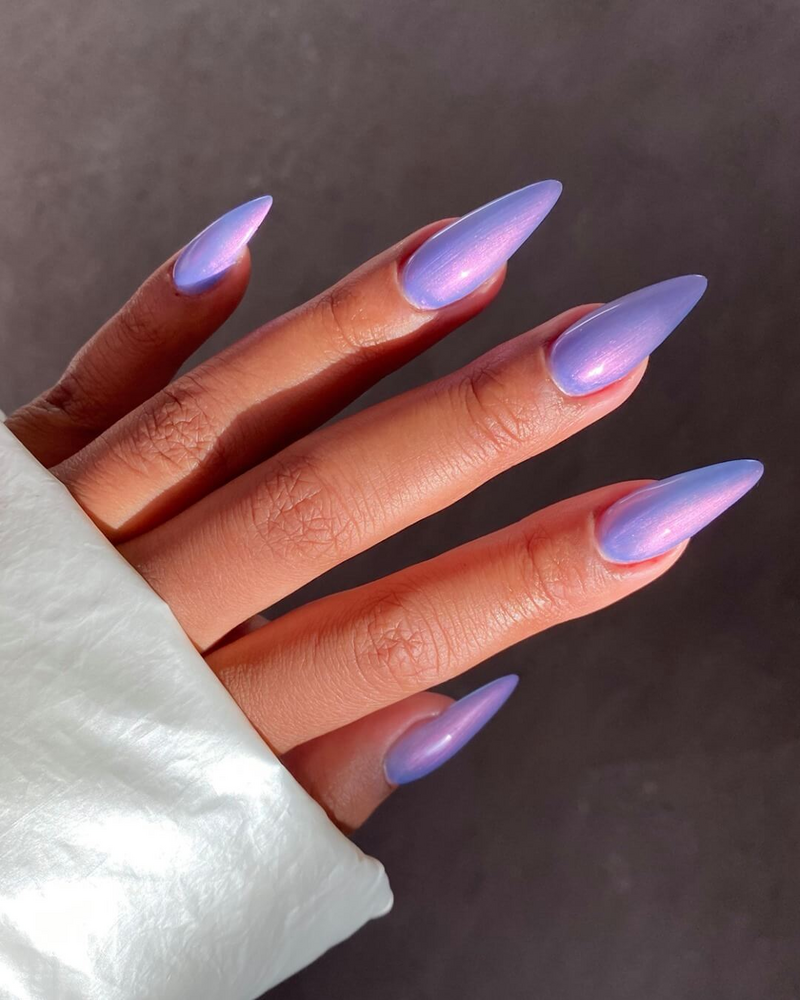
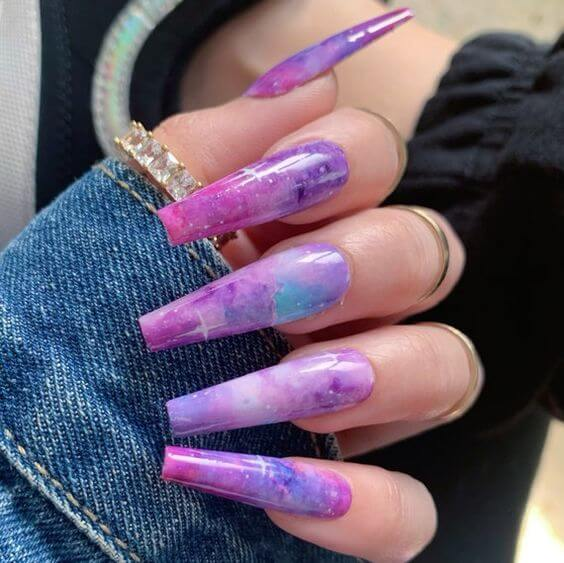
Galaxy Nails Inspiration
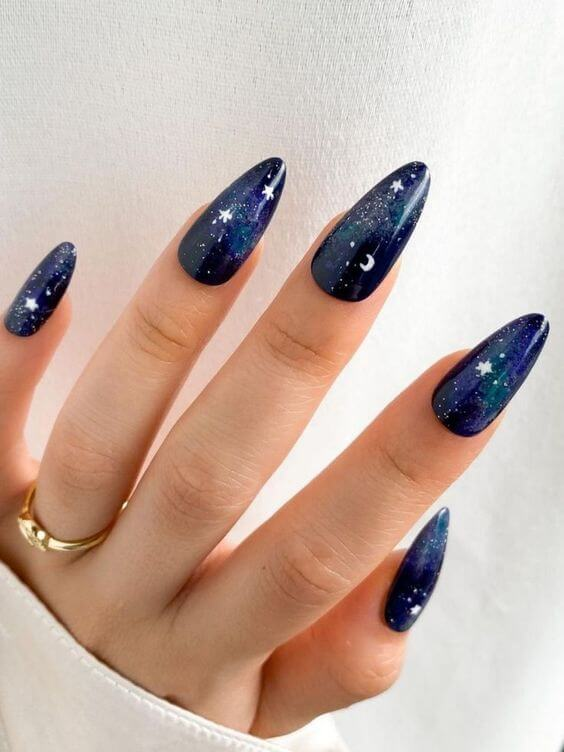
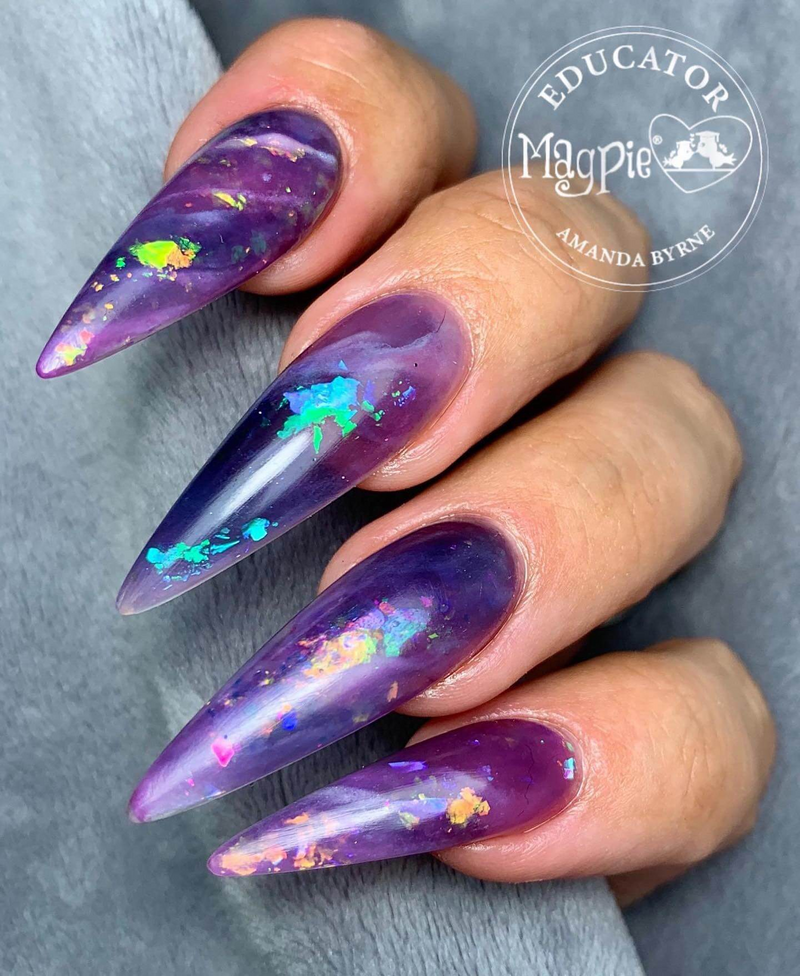
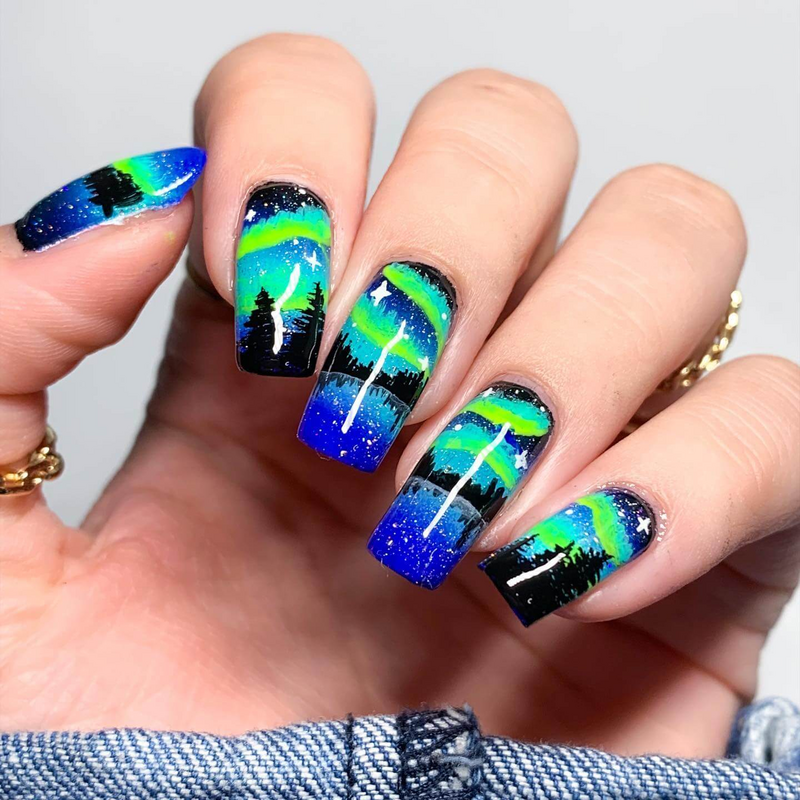
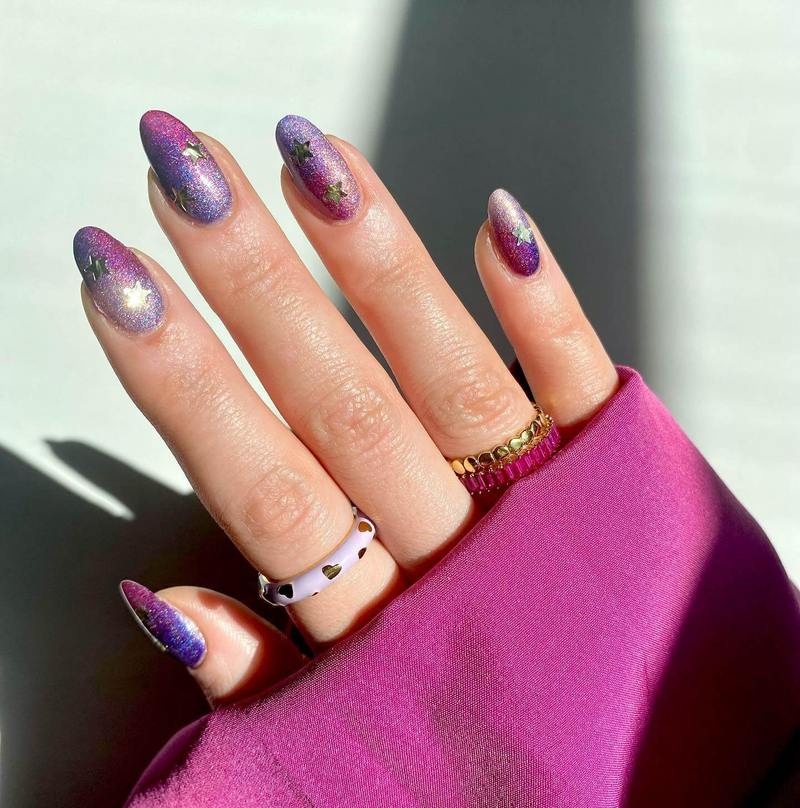
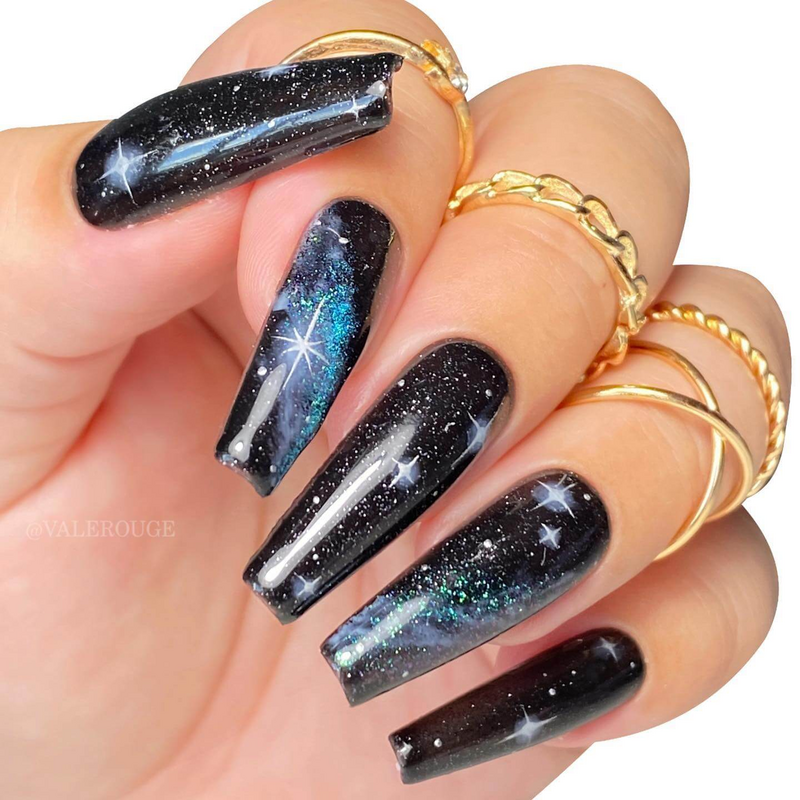
#1
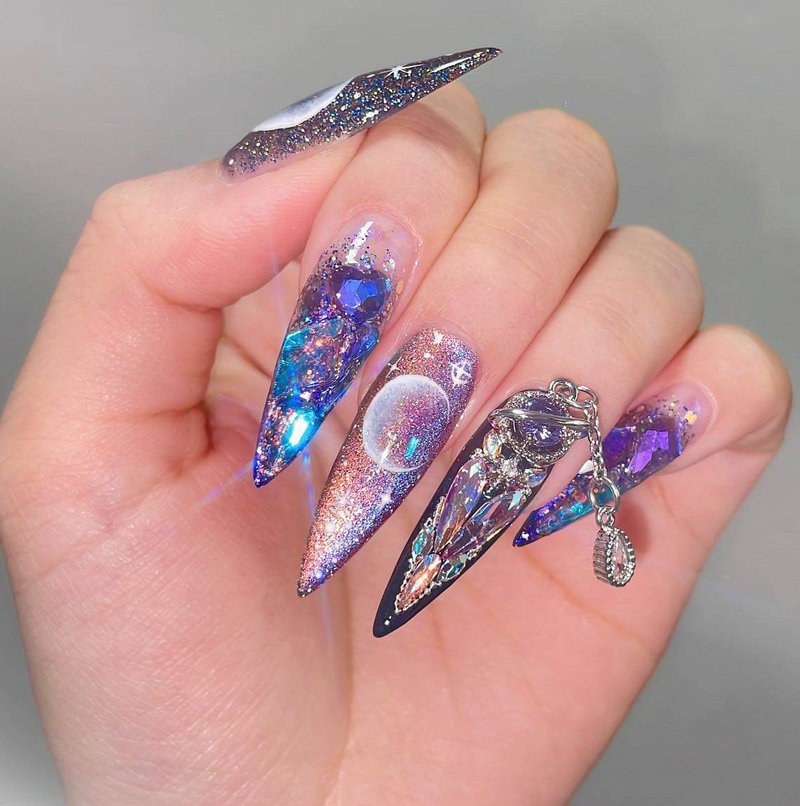
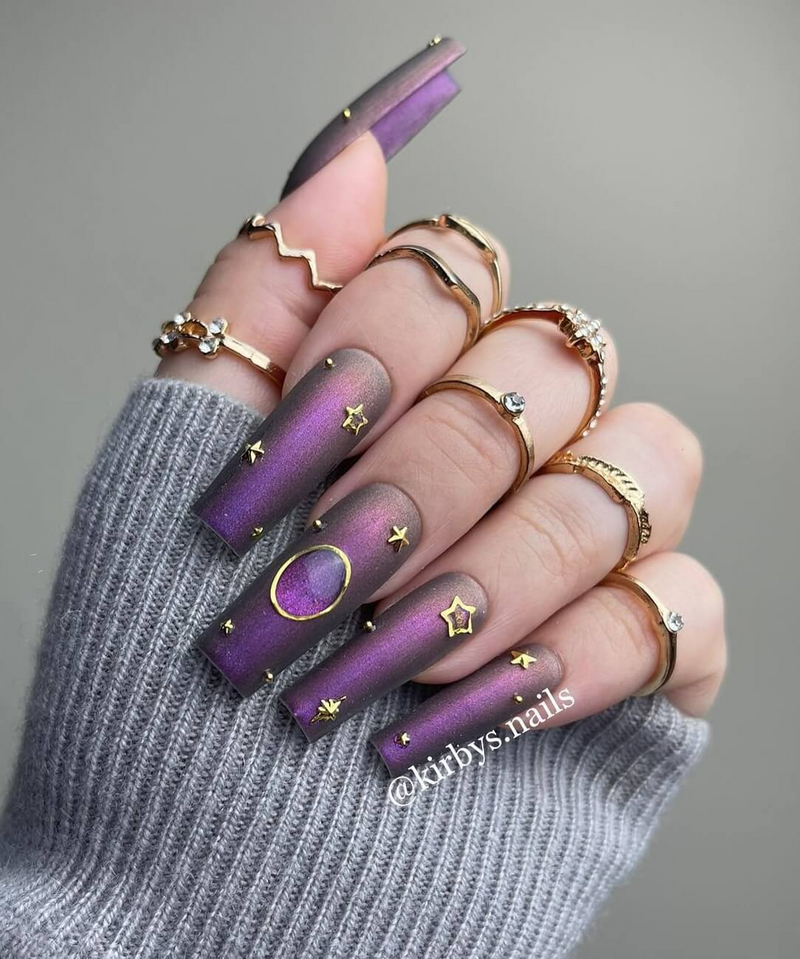
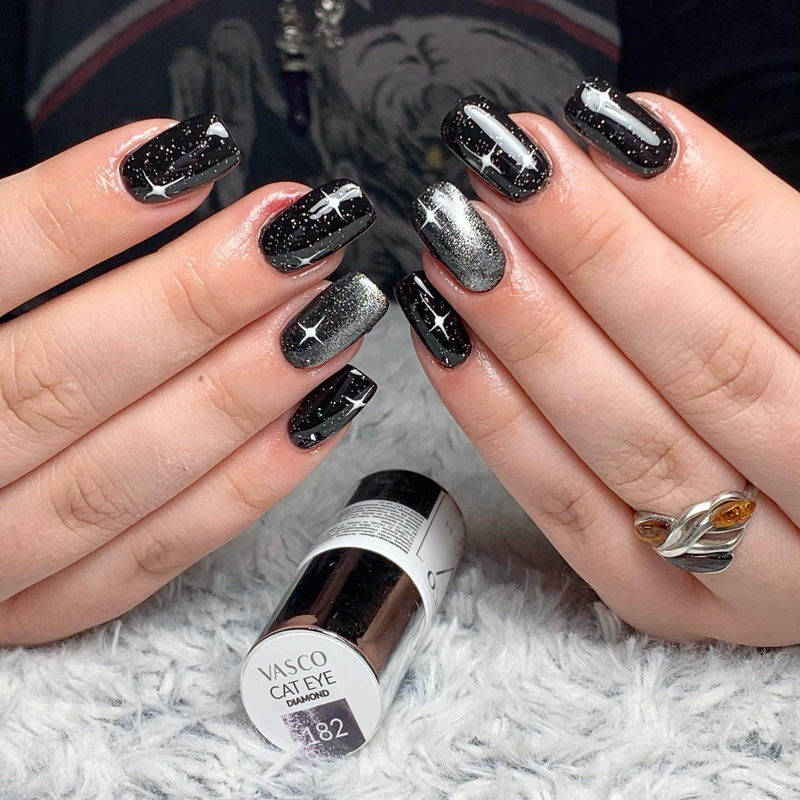
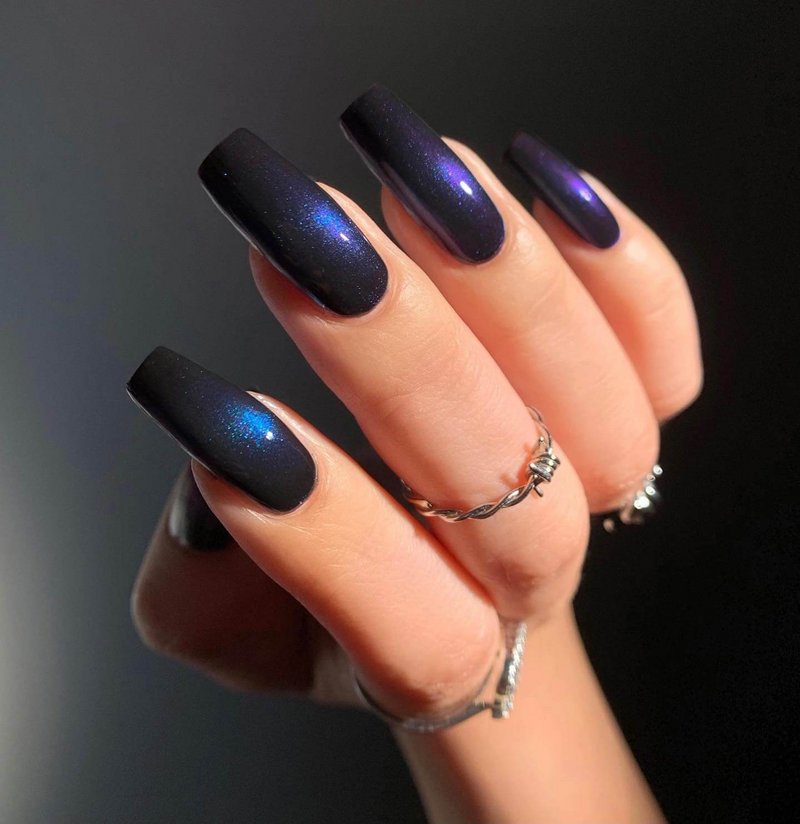
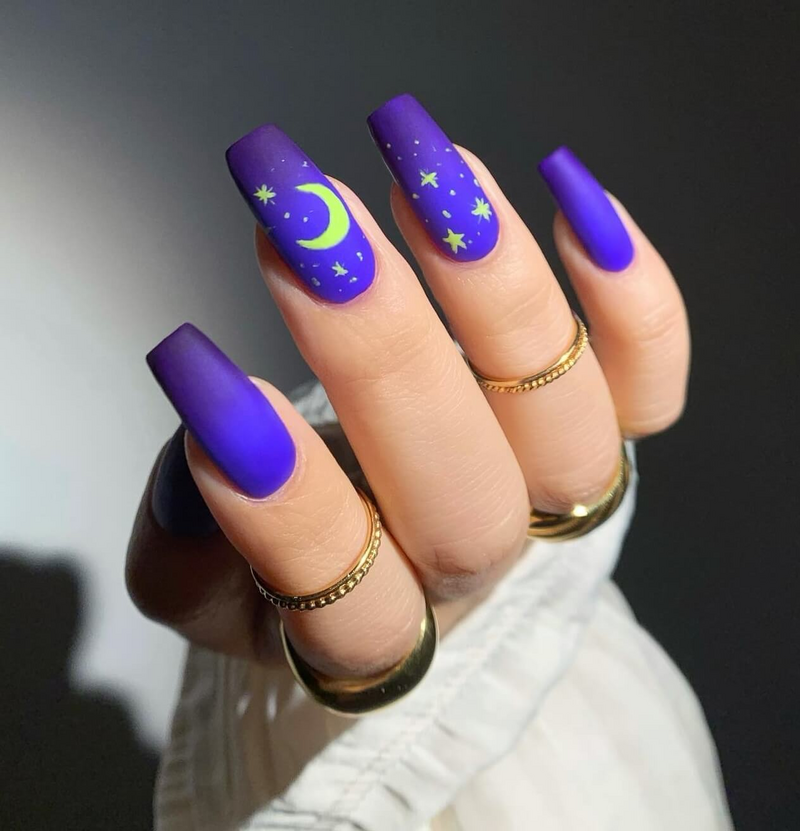
#2
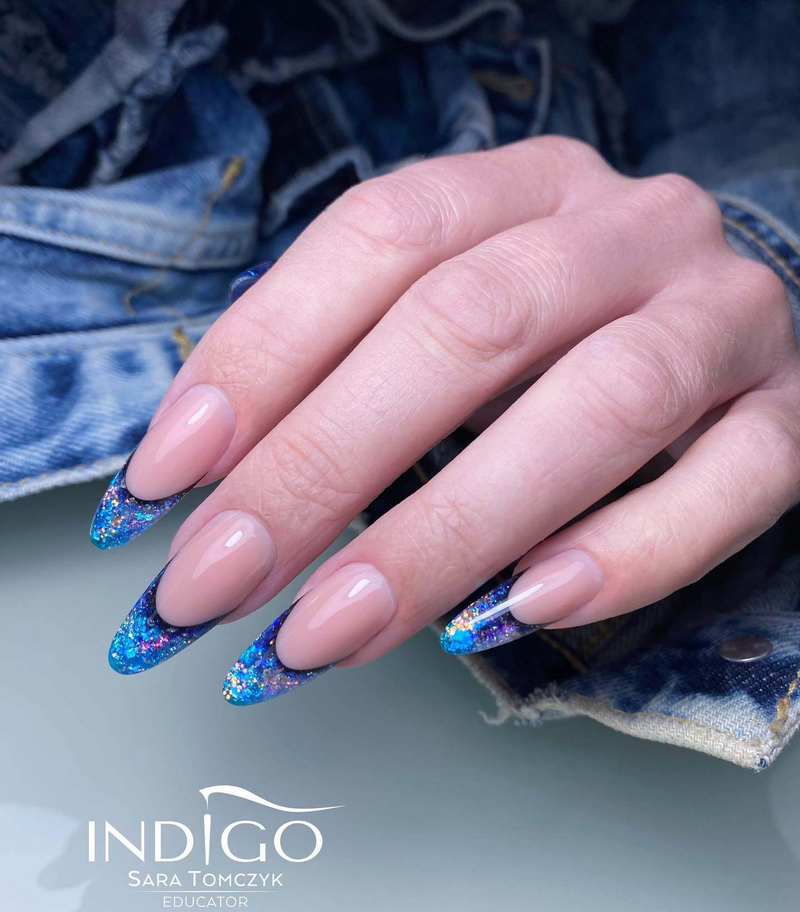
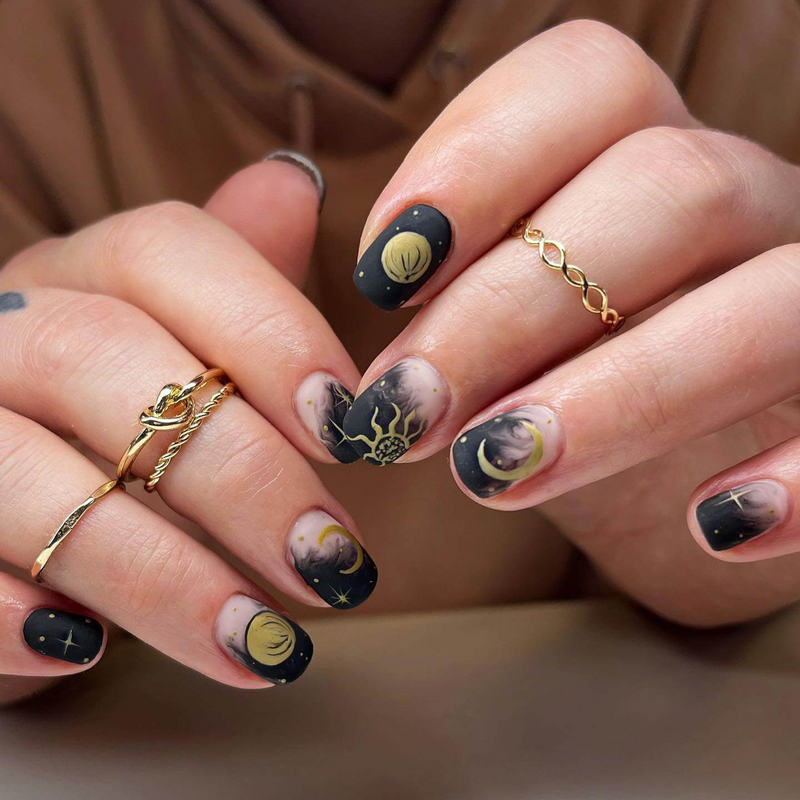
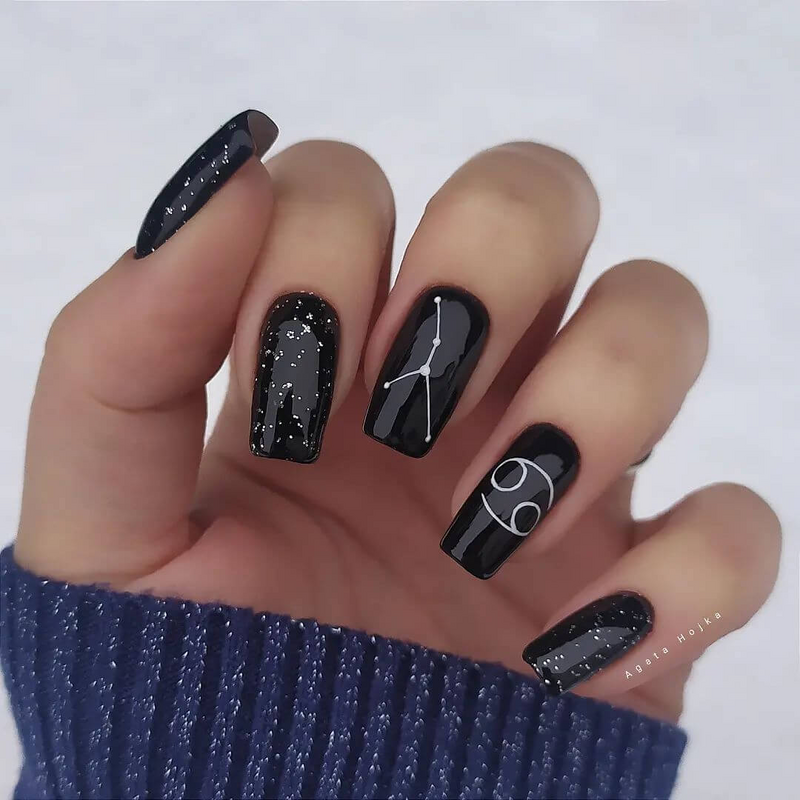
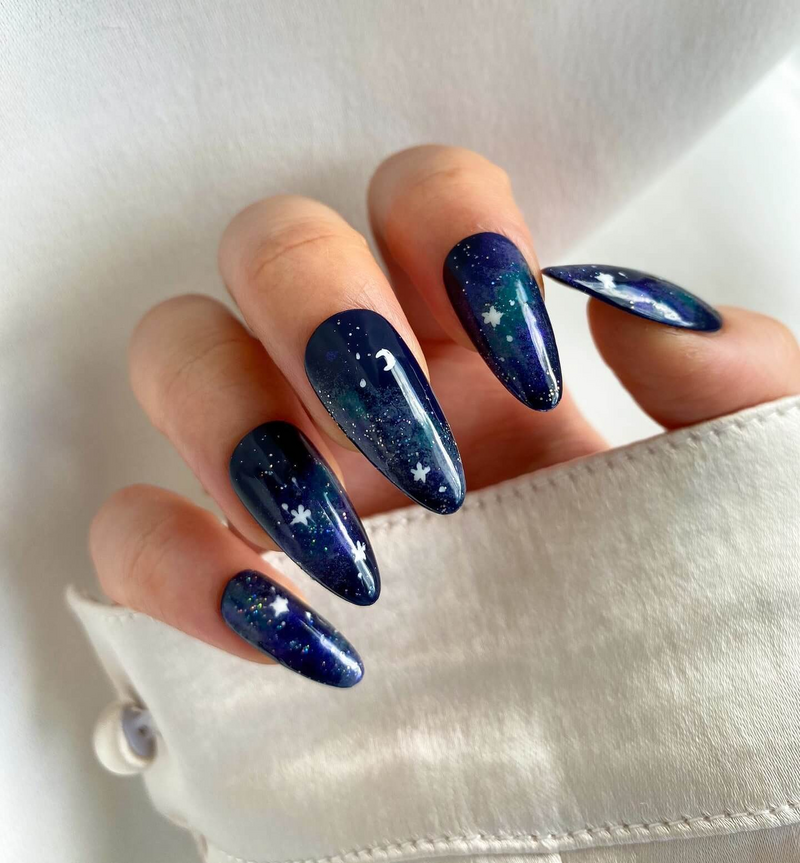
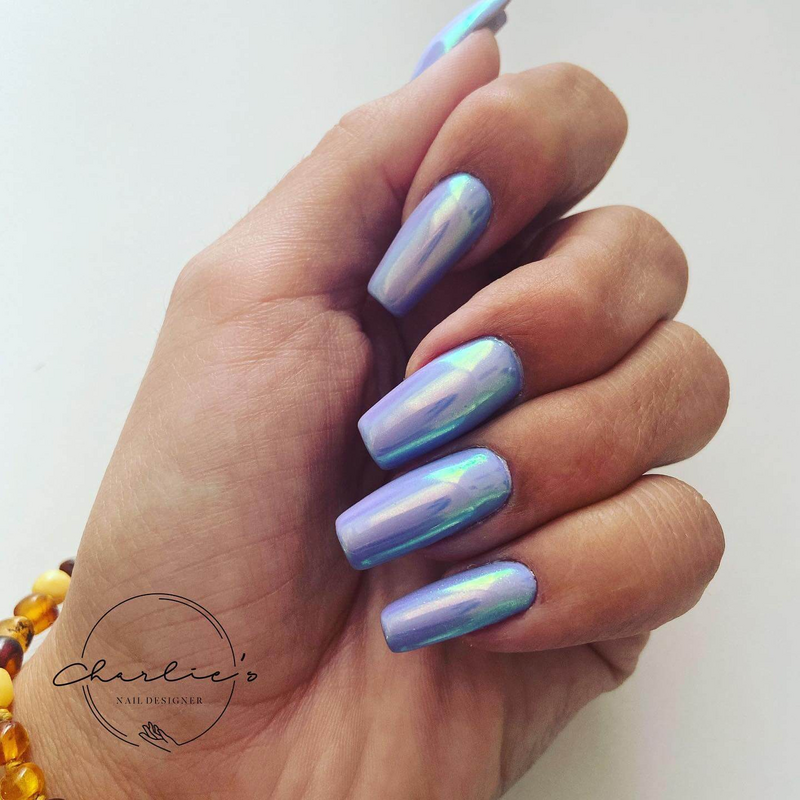
#3
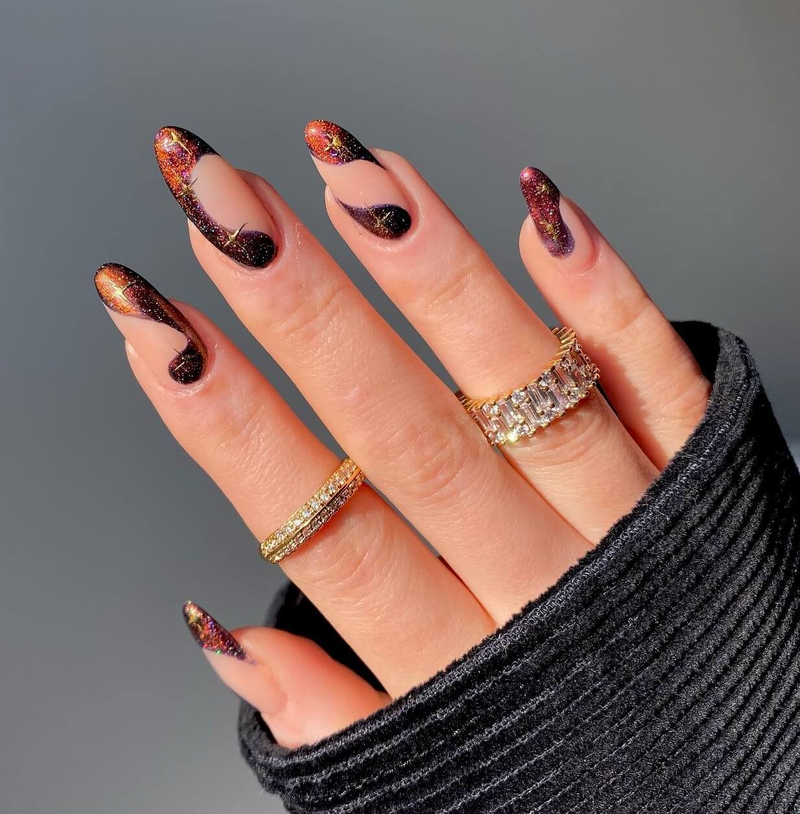
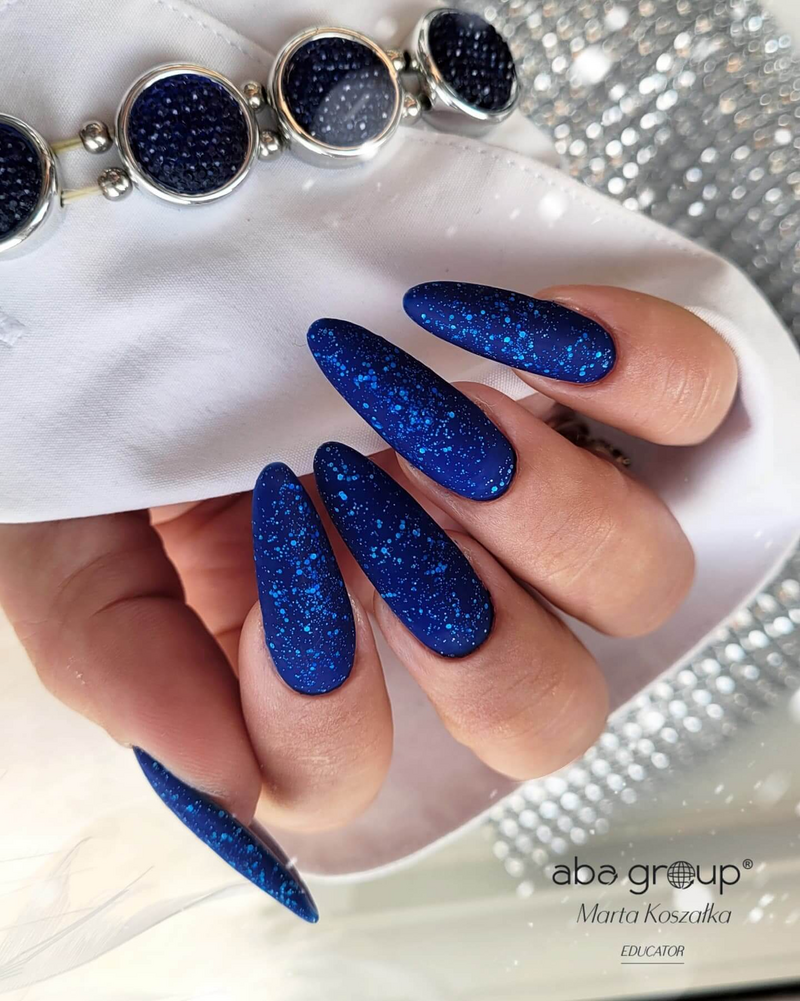
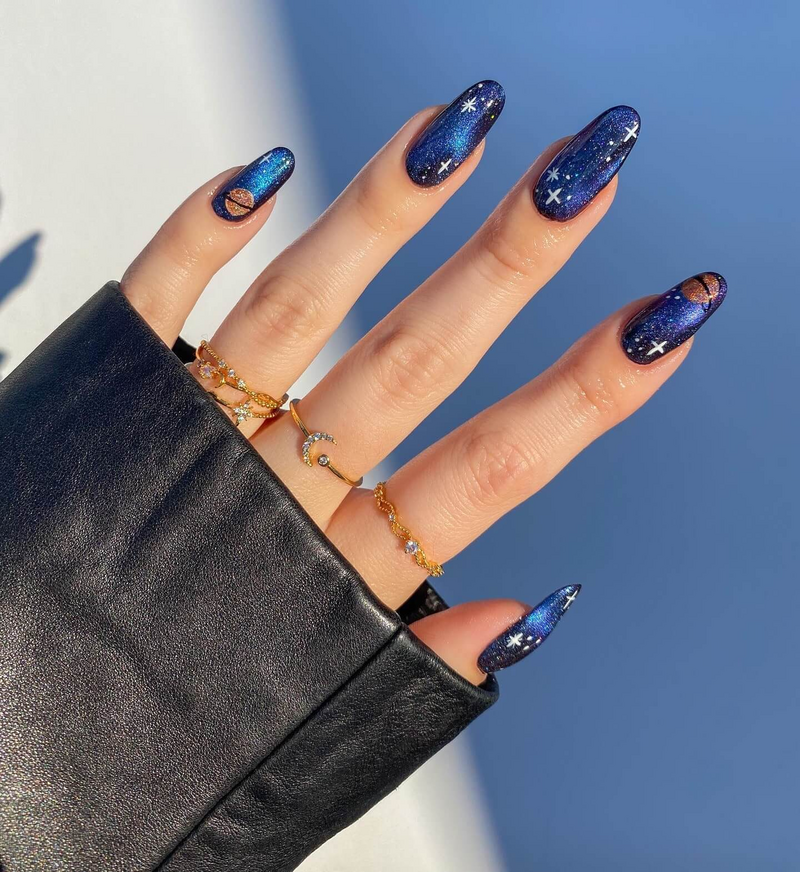
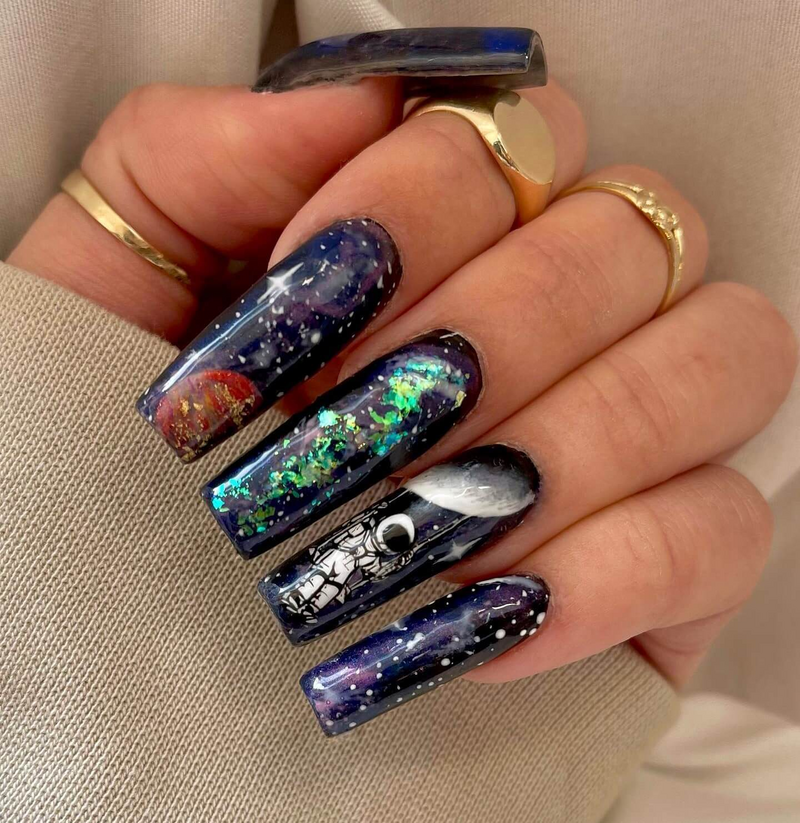
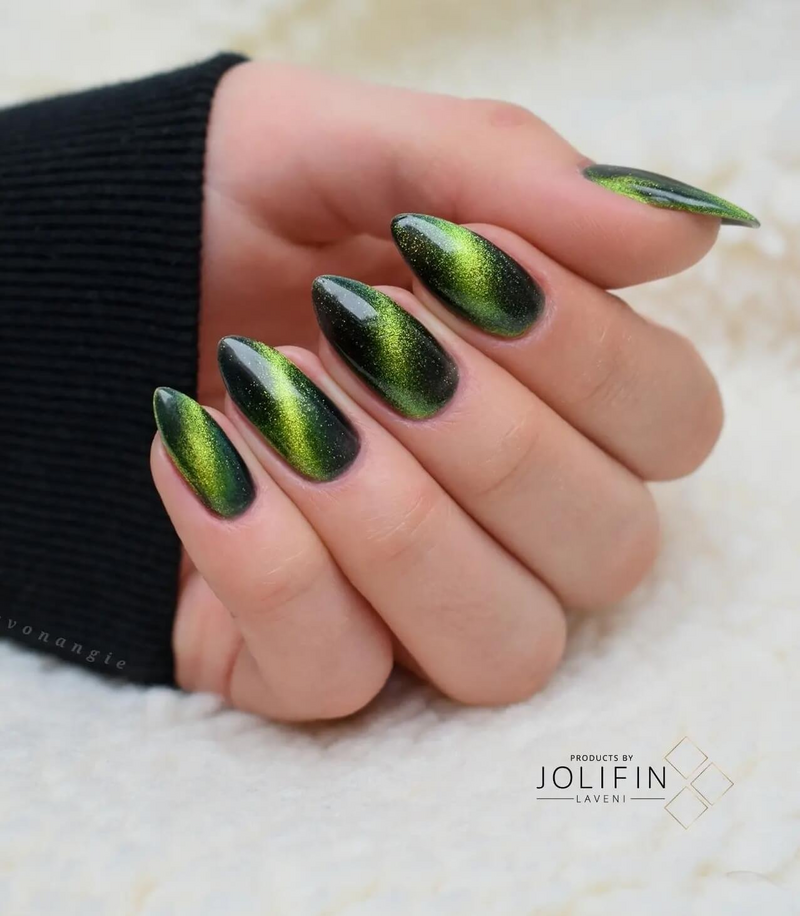
#4
#5
#6
#7
#8
#9
#10
#11
#12
#13
#14
#15
#16
#17
#18
#19
#20
#21
#22
#23
#24
#25
#26
#27
#28
#29
#30